We are absolutely sure that you are now very excited to set your tree up. Scroll down to view our detailed and illustrated steps!
You are now moments away from transforming your home into a Christmas Wonderland.
Buying a tree that’s right for you is just one step of the process.
1. Decide on Your Tree’s Location Beforehand
First things first, know where you’re going to position your tree. This is key in choosing what to buy. You need to consider your floor and ceiling area. These determine your choice of Christmas tree height and shape.
When you’re choosing the perfect spot, pick a space that has little to no foot traffic. Otherwise, your tree will end up a hindrance instead of a source of holiday cheer. Examples of high traffic areas are entryways, corridors, and hallways. Setting up your tree in these busy zones also puts it at risk of accidental damage.
Next, avoid putting your tree in areas exposed to direct sunlight.
Position your tree in such a way that you can see it from any vantage point. Make sure to place it near a wall socket so it’s easy to plug in your Christmas tree lights. Unless of course you have an extension cord. If you’re using the latter, then anchor it to the walls with clips to keep it out of the way.
Finally, wherever you decide to put your tree, set up a seating area where the family can relax and enjoy the view.
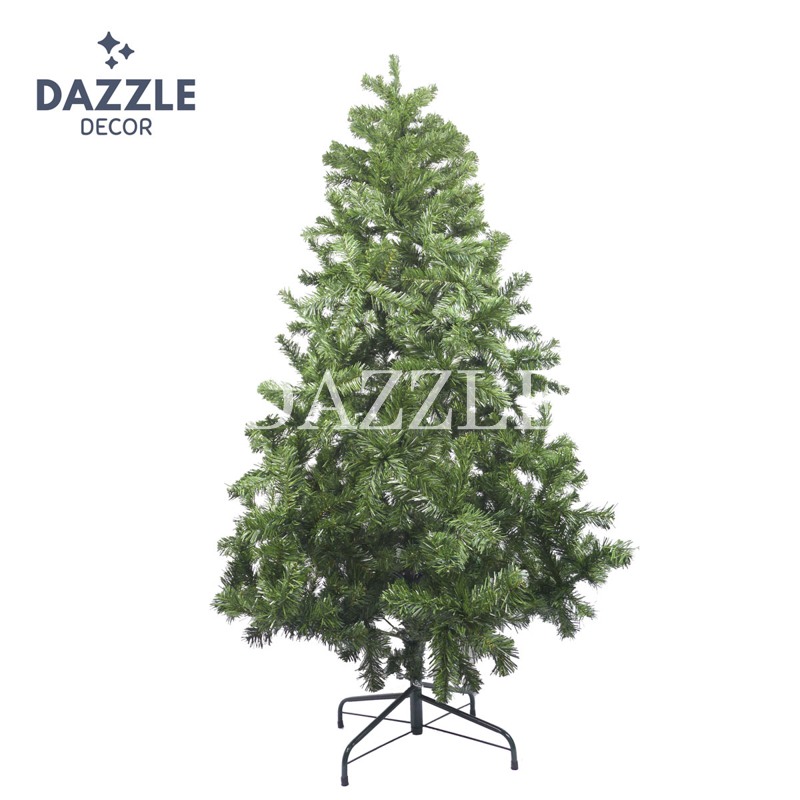
2. Unbox Your Christmas Tree
In your package, you should find:
- 1 artificial Christmas tree comprising of 3 sections (2 sections for smaller trees)
- 1 iron base stand with a set of 3 screws / Plastic legs (if you purchased the smaller Christmas trees)

3. Set Up the Christmas Tree Stand
Size: 1.2m & 1.5m
- Insert the plastic legs. Stop when you’ll hear a ‘click’ sound.
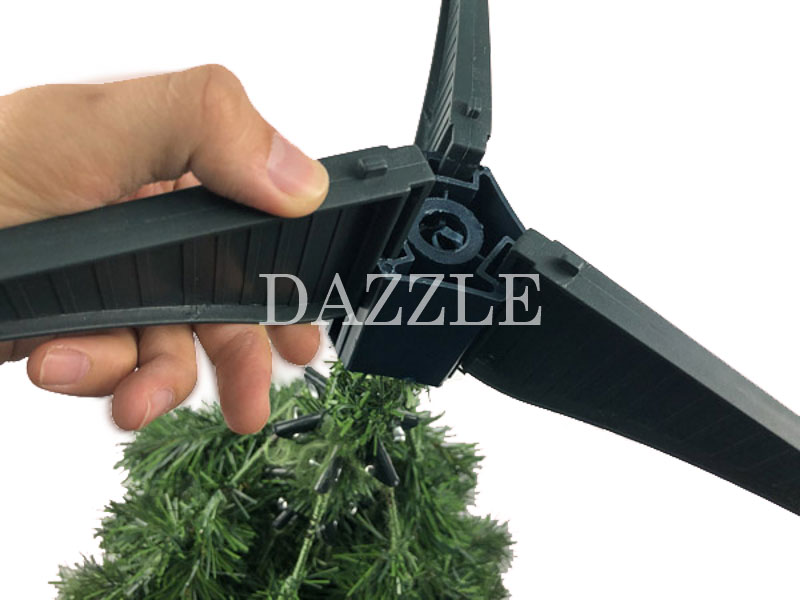
Size: 1.8m onwards
- Form an ‘X’ shape with the iron base stand.
- Align the holes where you are supposed to fit the screw into.
- Place a screw into the holes once you have gotten your alignment.
- Do not screw it all the way in. This is just to ensure the iron base stand maintains its shape throughout. If you do screw them all the way in, you would prevent the first segment of the tree to fit.
- You know you’ve done it right when the center pole stands straight upwards and doesn’t wobble.
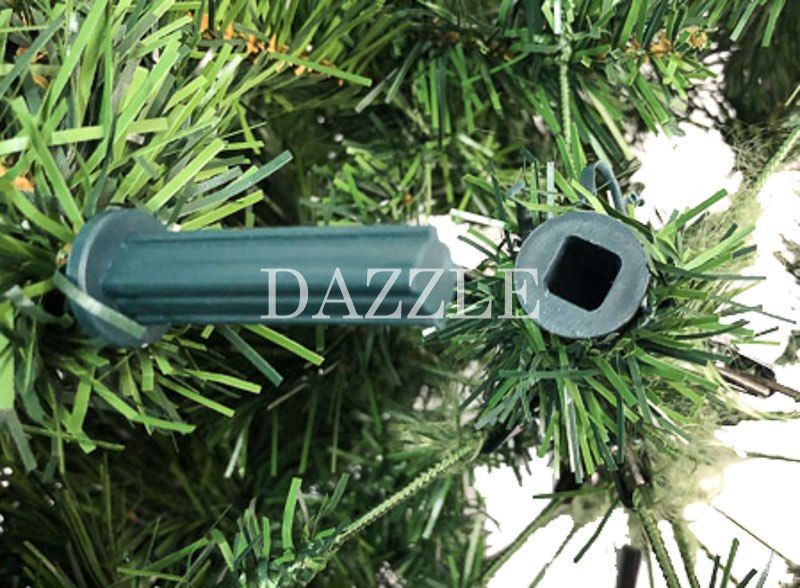
4. Assemble the sections
Now that we have sort of got our base ready, it is time to identify which tree segment should go in first.
Put all of the sections together and pick out the longest one.
Now, fit the longest section into the base stand.
Continuing fitting the sections
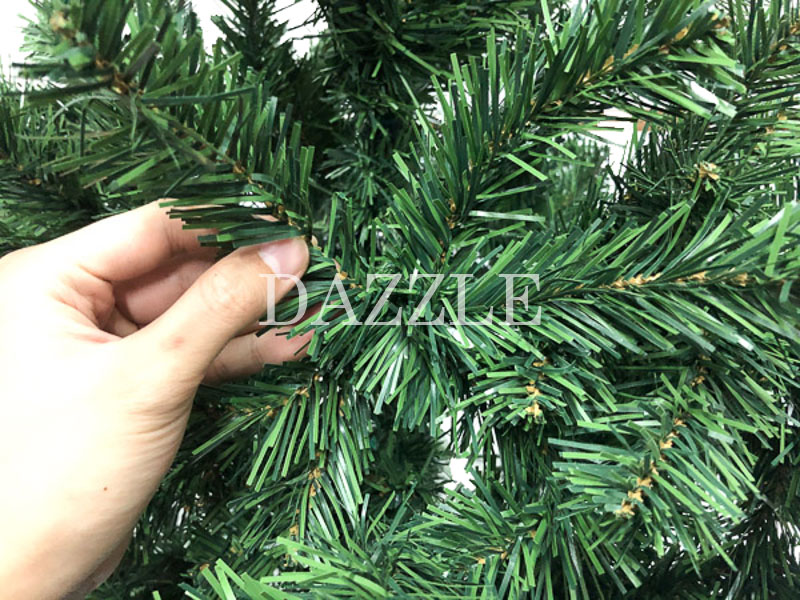
5. Fluff and Shape your Christmas Tree
As mentioned previously, it’s wiser to shape by section and start from the bottom up. The first section of your tree is the widest and serves as your guide when fluffing and shaping the rest.
First, separate the tips of each branch and angle them in such a way that they’re pointing away from the tree’s center.
Second, let a peacock’s fully fanned tail serve as your inspiration and work on the tips at the very back of each branch. Angle them sideways and away from the branch.
Third, shape each branch (as much as you can) in an upward vertical fashion. This how to make an artificial tree look fuller.
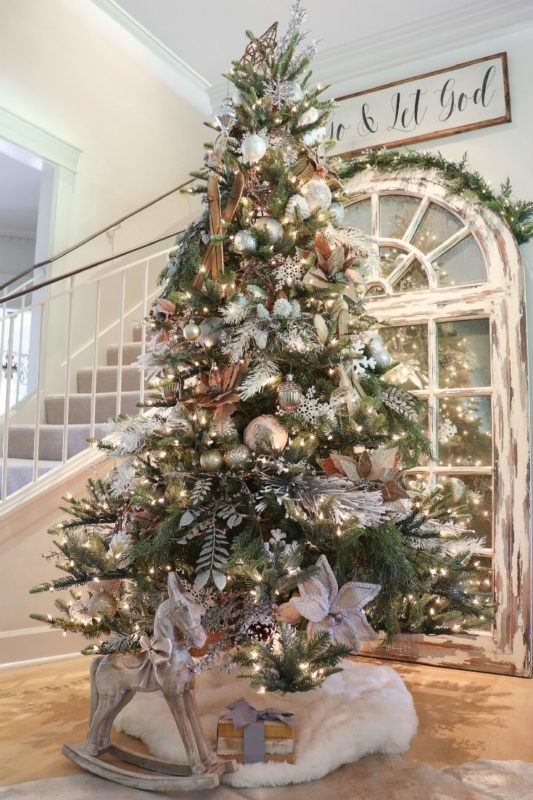
6. Ready-to-Go
Now that your Christmas tree is fully fluffed and shaped, your beautiful Christmas tree is ready to go! Add your LED lights and ornaments to beautify your tree.
Our Christmas Trees are sure to be dense. Definitely far more than the average tree from your local Christmas Shop, e-commerce platforms, or supermarkets/departmental stores.
Tag your best Christmas tree pcicture with #DazzleDecor on Instagram to get featured @dazzledecor.sg!