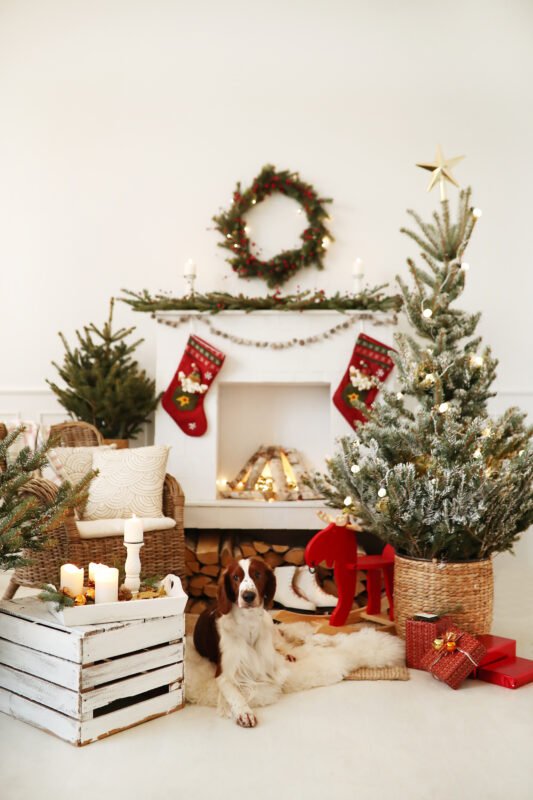
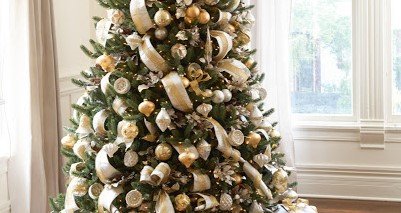
We all want to decorate the insta-perfect Christmas tree with baubles, ornaments and lights perfectly co-ordinated in a festive but stylish scheme. In reality, however, it’s easier said than done. Decorating a tree is no mean feat, especially for the perfectionists among us, but we prepared a quick guide on how to decorate your tree to make it look like you hired a professional. So, fancy getting that effortless, Insta-worthy look with very little effort?
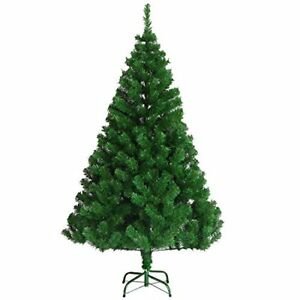
1. Invest in a high-quality artificial tree
Christmas trees crafted from premium materials provide sturdy and reliable support for decorations. You’ll find that high-quality trees are generally more durable and can stand up to repeated use every year, all whilst maintaining its beautiful look. To prevent wear and tear on your tree, consider models with advanced features that offer easy set up and storage. See all the tree varieties available, including our Eira-Alpine and Aurelius Grande Christmas trees.
2. Fluff and shape branches
Fluffing the branches helps make your Christmas tree look fuller and more natural. This can be a time-consuming task, but trust us, the end result is more than worth it. Separate each branch so they fan out to cover as much area as possible. And don’t hesitate to bend individual branches to fill in gaps. Keep in mind that a properly shaped tree is an appealing sight however minimal or lavish your embellishments may be.

3. Design around a theme
A professional-looking Christmas tree has a central look that ties all its decorations together. Deciding on a theme before choosing your decorations sets the tone for your materials and gives you a clear idea on how to decorate your tree.
Need some inspiration? Why not take a look at our Christmas themes for this year, from Garden Retreat to Snowscape, there’s a total of seven key looks to help you decorate this festive season.
4. Start with the lights first
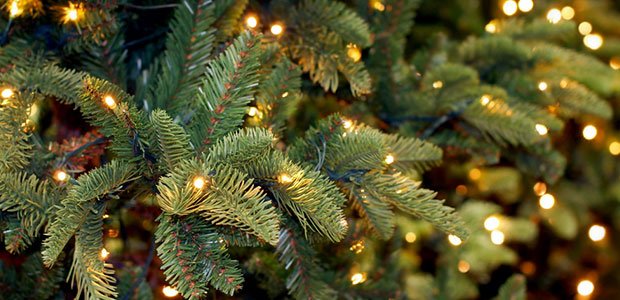
While pre-lit Christmas trees are popular and will save you time (and money) with tree lights, if you have a plain tree, always add the light first – it’s more difficult to do this after you’ve added your decorations.
Before you place the lights on the tree, plug them in and make sure they work. You do not want to finish decorating your tree only to realise that your lights will not switch on. You will have to take everything off and start from the beginning.
We strongly advise you to start with a string of lights with the plug as the starting point, wrapping it around your Christmas tree’s trunk, working your way up from the centre of the base of your tree. Continue wrapping the lights evenly around the branches nearest to the trunk, and then weave it upwards from the middle of the crown. Push the lights into the branches so that there will be room for the other decorations. Leave the lights on as you decorate to see where the branches and gaps in decorations are.
When you reach the crown, weave your way back down, arranging the lights further out on the branches. Keep weaving the lights until you reach the tips of the branches.
And remember, when weaving, the bulb should be positioned under a branch and the next light over a branch.
To ensure your lights remain in optimal condition for years to come, invest in our recommended LED lights here.


5. Choose the right decorations
Choosing accents that fit your theme helps you achieve a cohesive design. Whether it’s hanging decorations, ribbons, or floral picks, opt for items that complement the overall appearance of your tree. Many bauble sets include different shapes, sizes, finishes and designs. Combining these with traditional baubles will give you more freedom to play up your theme.
We recommend using 70 per cent simple ornaments, such as baubles, and 30 per cent thematic or detailed ornaments, such as clips, bows or handmade pieces. Do check out our ornament accessories to elevate your tree appearance here.
6. Cluster your baubles
Do remember to put on the biggest baubles first. Apply them to the branches in a zig-zag – up, down, up, down – pattern around the tree, leaving large gaps between them.
Fill the space in between the large baubles with the medium baubles, using the same zig-zag method, followed by the smaller and irregularly shaped ones. Hang your ornaments and decorations at different points on the branches – not all on the tips – to add depth and interest.
We recommend clustering three baubles of different sizes to add flair and visual appeal. You can either put the same pieces together or choose contrasting ones.


7. Layer and style ribbons
Another expert tip is to layer your Christmas tree with decorative ribbons. You may use one type of ribbon or pair ribbons of contrasting textures and different widths to create more impact.
The final layer of decorative clips, bows or fillers goes into the gaps – use cable ties or green wire to secure them.
8. Use tree picks
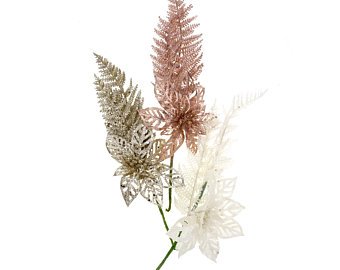
Tree picks come in many forms, such as decorated branches, twigs, berries, or even pinecones. Use them as subtle accents to complement the entire look of your tree. Make sure to choose picks with bendable stems to make shaping easier.

9. Choose the right tree topper
A topper is a beautiful way to complete the designer look of your Christmas tree. Make sure to choose one that best fits your theme and the proportion of your tree, or you can also opt to make your own topper.
10. Balance the décor
Given the many decorations on your tree, you have to ensure that everything is well-balanced and spread out to your liking. Arrange embellishments from the top of the tree and then work towards the bottom. This way, you can easily check your design as you dress up your tree.
Share your Christmas tree photos with us – tag us in your photos via Instagram or share your snaps with us on Facebook.

